
AEROPRESS BREWING GUIDE
AEROPRESS
Looking for a portable and lightweight brewing method?
WHAT IS an AEROPRESS?
The AeroPress is a portable coffee brewing device that uses air pressure to extract flavors from coffee grounds. It consists of a plunger, a brewing chamber, and a filter, making it a popular choice among coffee enthusiasts for its simplicity and ability to produce rich and flavorful coffee.
To learn how to brew with an AeroPress like a barista, see the instructions below.
HOW TO BREW WITH AN AEROPRESS
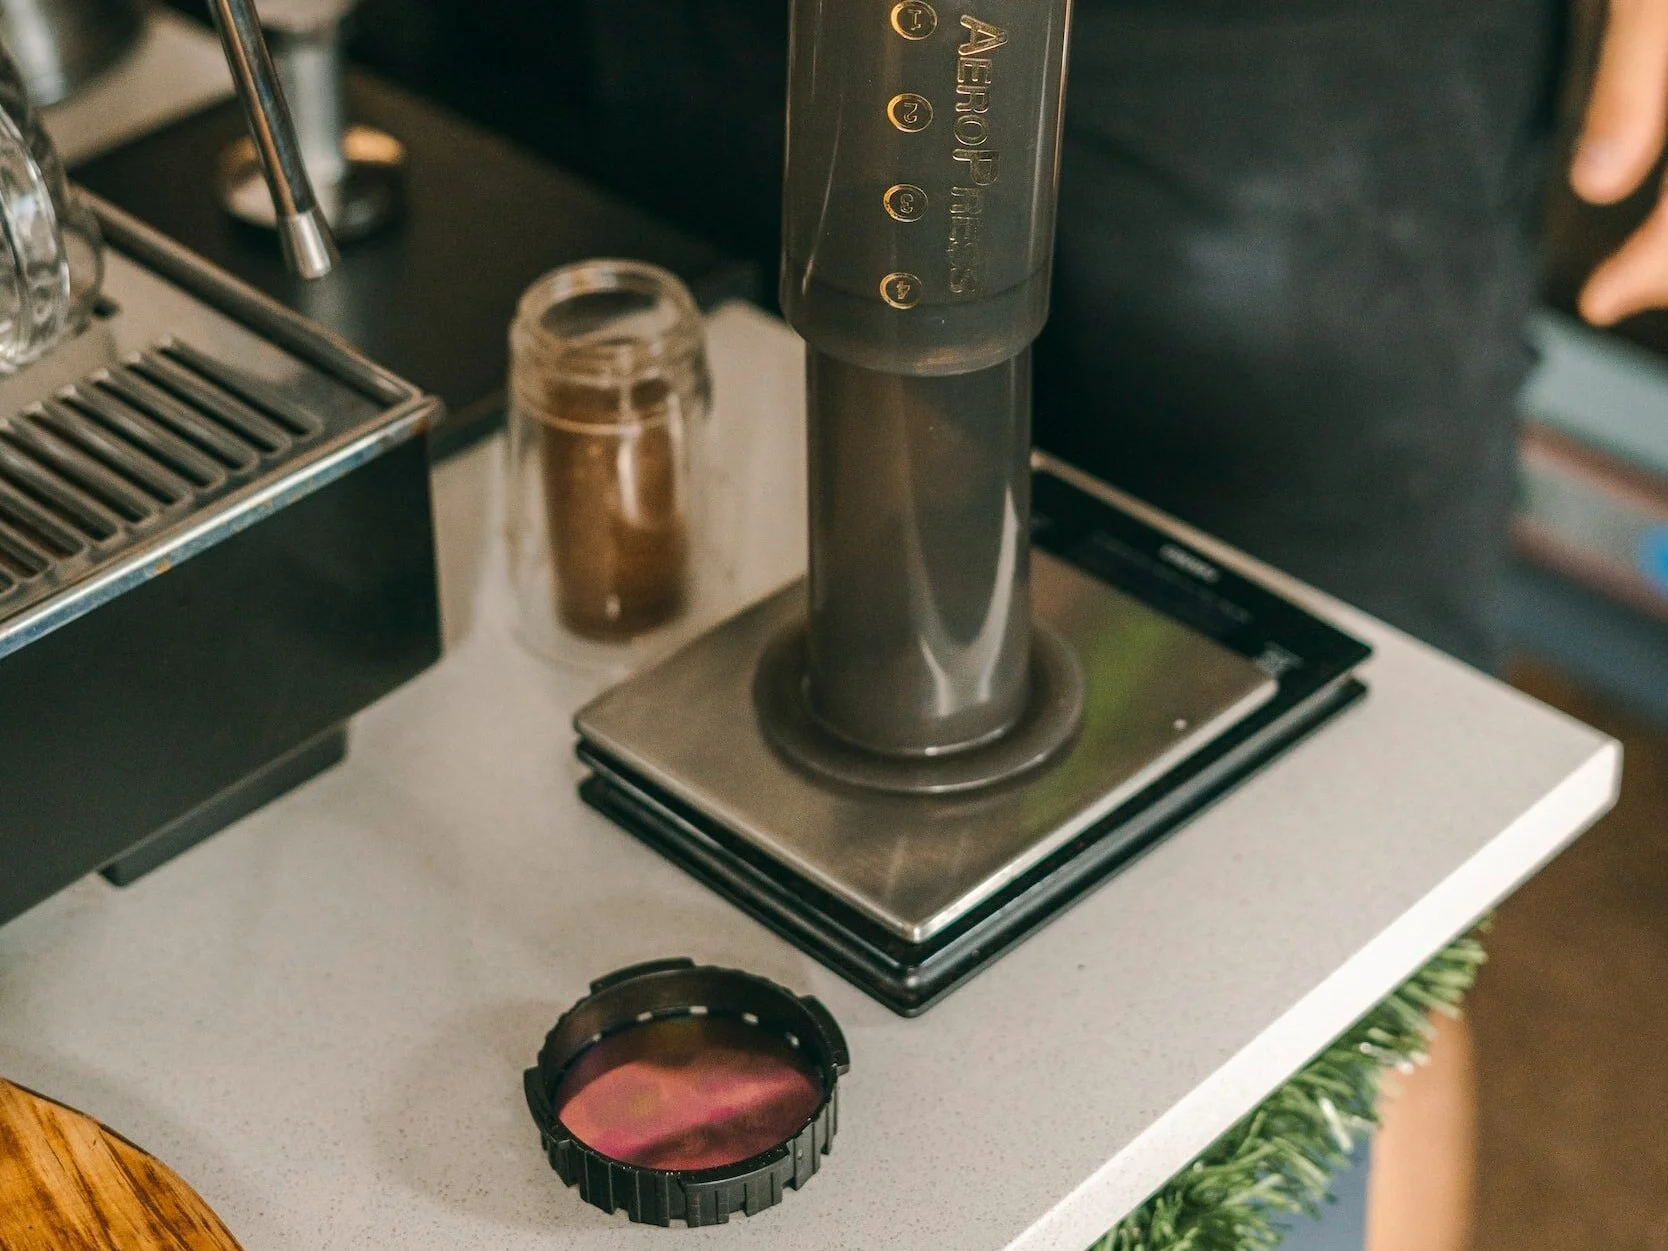
1. Prep the AeroPress
Get the AeroPress ready to brew by placing the filter in the basket (the pink part). Next, preheat the brewer and rinse the filter with hot water. This gets rid of any paper flavor and warms everything up.

2. Grind and add coffee
Measure and grind 17g of coffee - on rounded AeroPress spoonful or about 2 1/2 Tablespoons. Grind the coffee about as fine as table salt.
Affix the basket to the bottom of the brew chamber and place it on top of the mug. If it’s handy, use the funnel (or coffee loader) that comes with the AeroPress to add 17g of coffee to the basket.

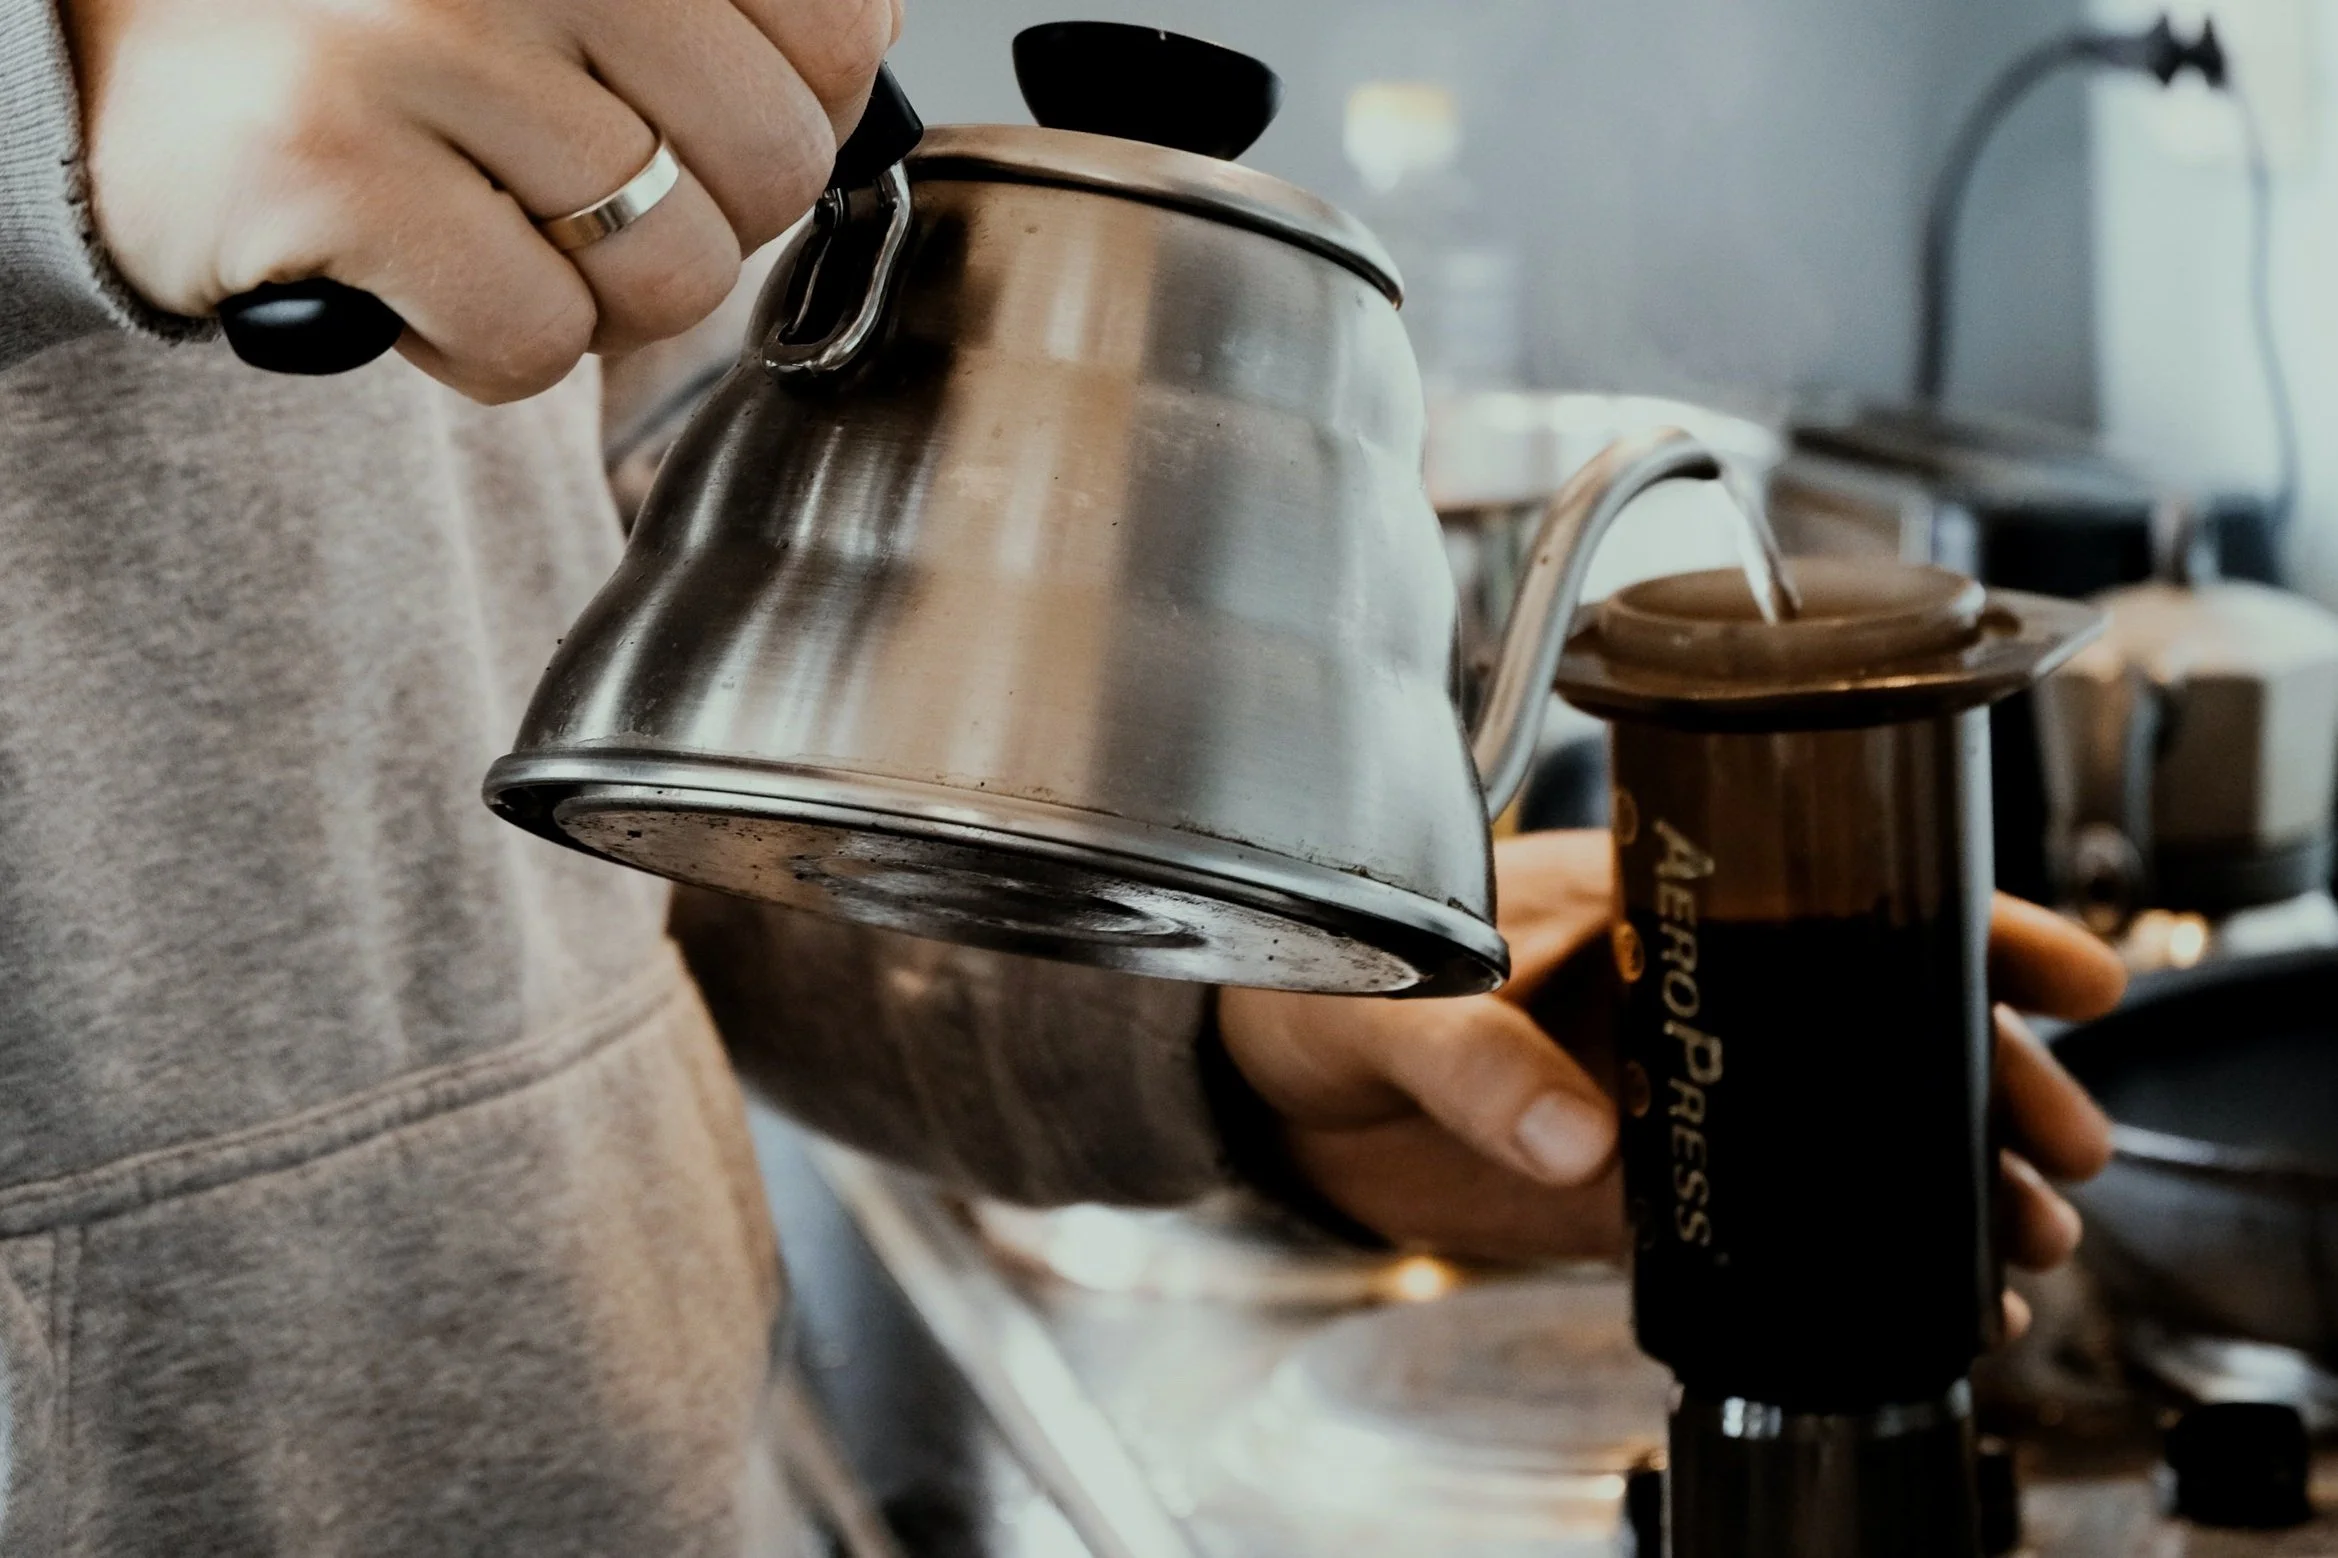
3. Add water
Start your timer when you pour hot water (just off the boil or about 205°F) into your brewer. Saturate all the grounds within 10 seconds. Pour to the No. 4 or 220g of water if you’re using a scale. Spin the chamber, making sure all the coffee is saturated.
4. Place plunger and wait
Once you hit the No. 4, stir the “slurry” (coffee and water mixture) and place the plunger on the brew chamber and pull up slightly to create a pressure seal. Don’t plunge yet!

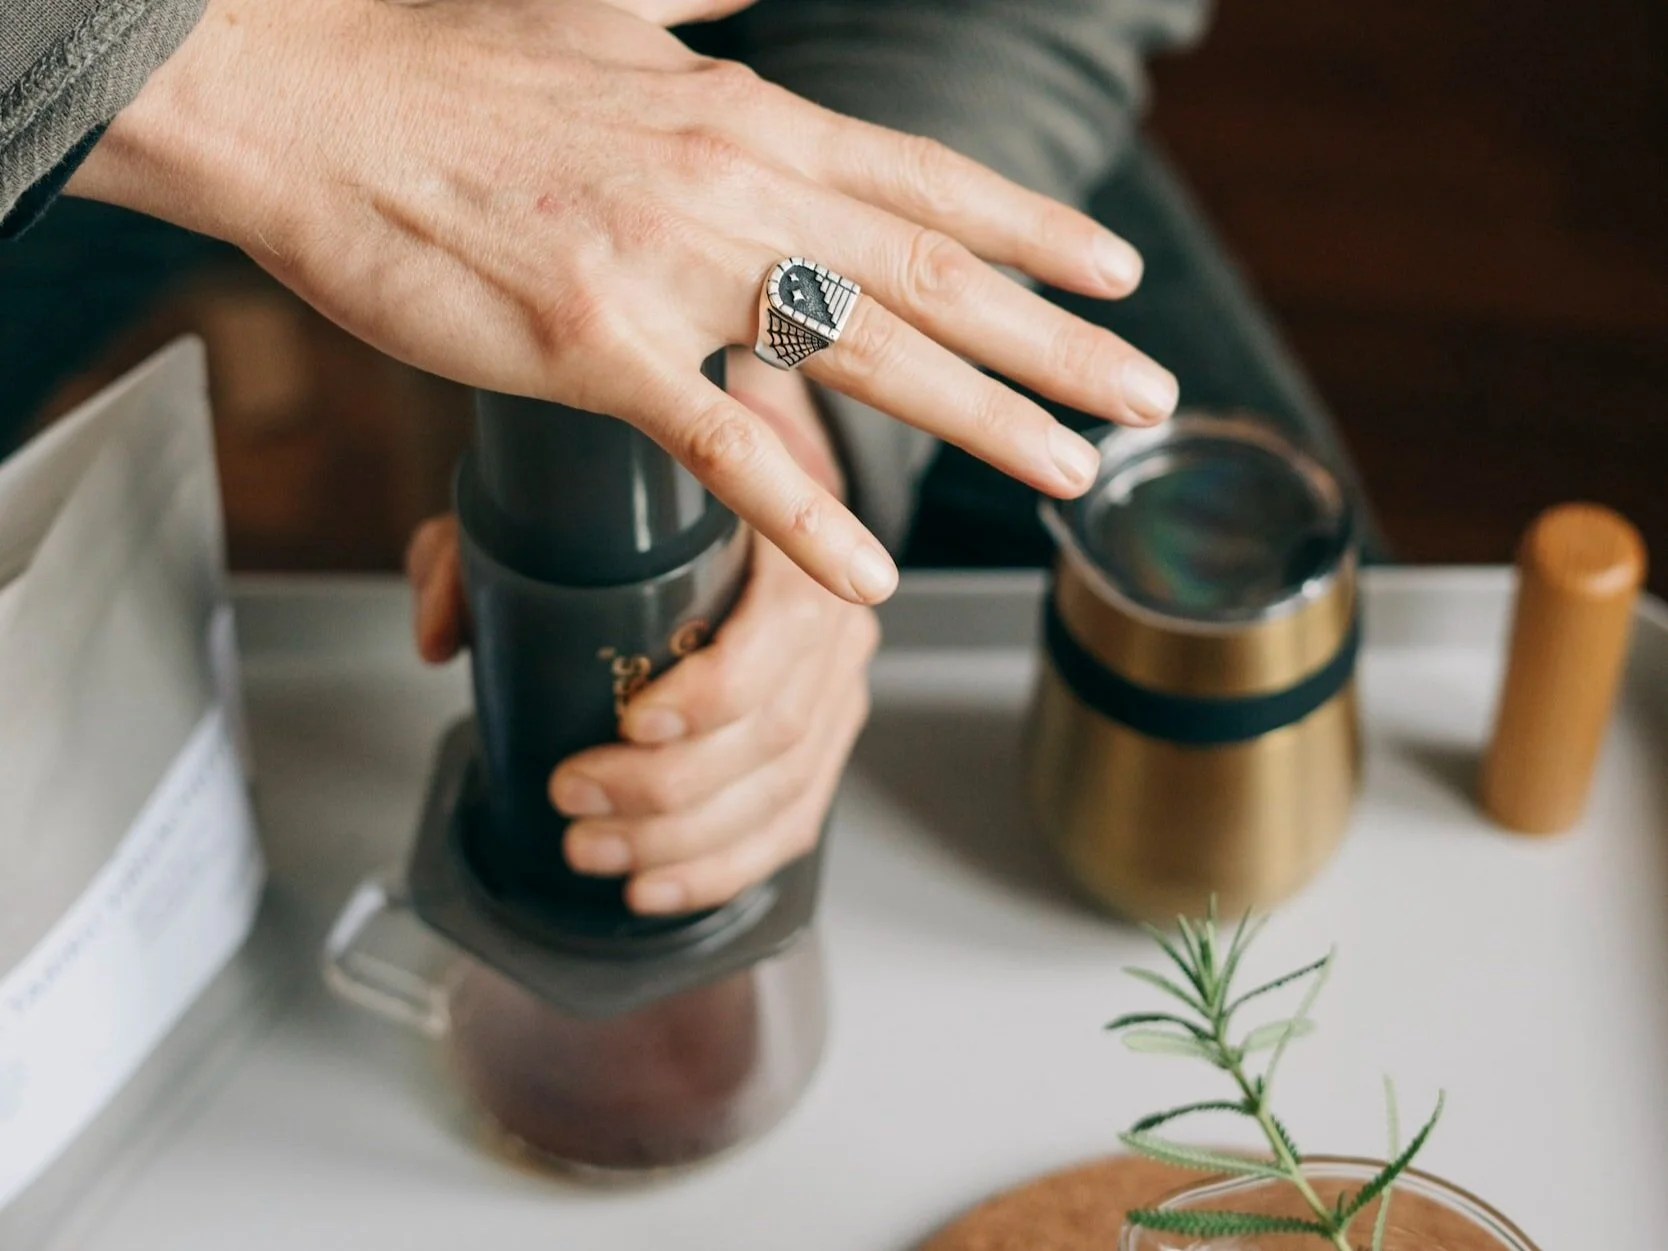
5. Stir and plunge
At 1:15, remove the pressure seal and give the slurry another stir with a spoon or paddle. Put the plunger back on and gently press down with steady pressure, stopping as soon as you hear a hissing sound. This entire brew process should take just under two minutes and yield seven to eight ounces of coffee.